Not sure how to use dry ice in a cooler for camping? Camping adventures aren’t complete without a cooler full of refreshing beverages and well-preserved food items. But maintaining the right temperature in your cooler can be challenging, especially during those hot summer months. That’s where dry ice comes into play, an effective and efficient cooling solution that can ensure your food and drinks stay cold and fresh throughout your camping trip.
In this guide, we’re going to walk you through the essential steps of how to use dry ice in a cooler for camping. Whether you’re a seasoned camper or a novice venturing out for the first time, understanding the correct usage of dry ice can significantly improve your camping experience. Not only does it keep your items chilled for a longer time, but it’s also a safer option as it reduces the risk of food spoilage.
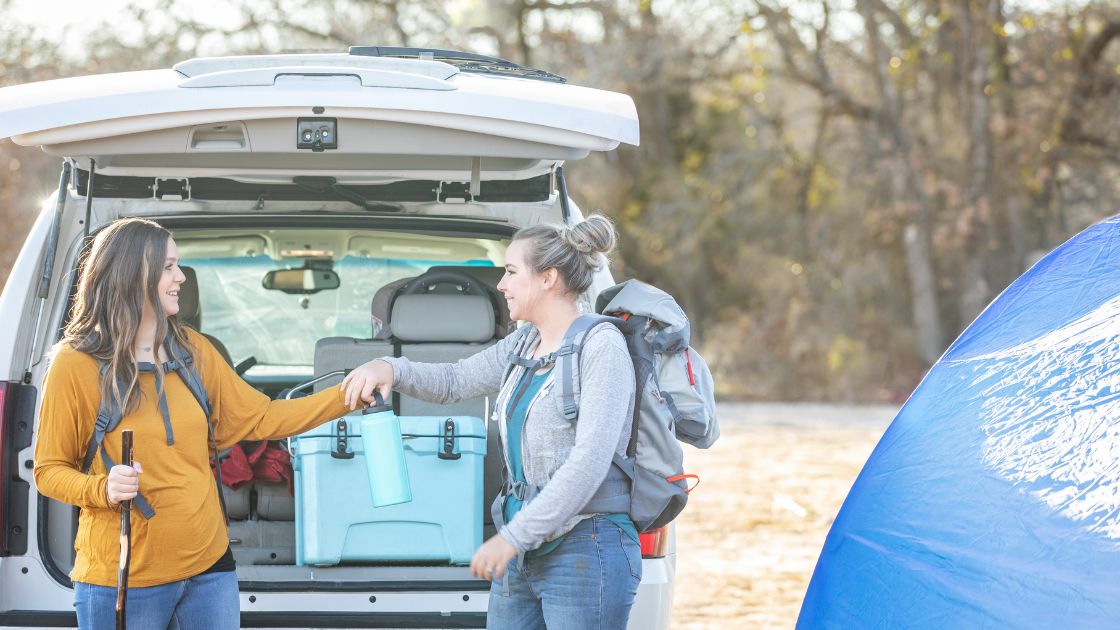
How to Use Dry Ice in a Cooler for Camping Quick Guide
If you aren’t sure how to use dry ice in a cooler for camping, it’s in your best interest to do your research. Here are twelve steps that will successfully help you in your quest of how to use dry ice in a cooler for camping. For more details continue reading.
- Choose an appropriate cooler.
- Purchase the correct amount of dry ice.
- Pre-freeze your food to ensure freshness.
- Wrap the dry ice in brown paper for added safety.
- Create a barrier between the dry ice and your food items.
- Place the ice either at the top or the bottom of the cooler.
- Strategically pack your food and ice inside the cooler.
- Minimize empty spaces by using newspapers to fill gaps.
- Keep your cooler in a cool location.
- Dispose of dry ice properly and safely.
How to Use Dry Ice in a Cooler for Camping: Steps
Now, let’s delve deeper into each step for a better understanding of how to use dry ice in a cooler for camping. Keep in mind dry ice is extremely cold and can cause burns if handled with bare hands. Always use protective gloves when handling it, and avoid touching it directly with your skin.
1. Choose an appropriate cooler.
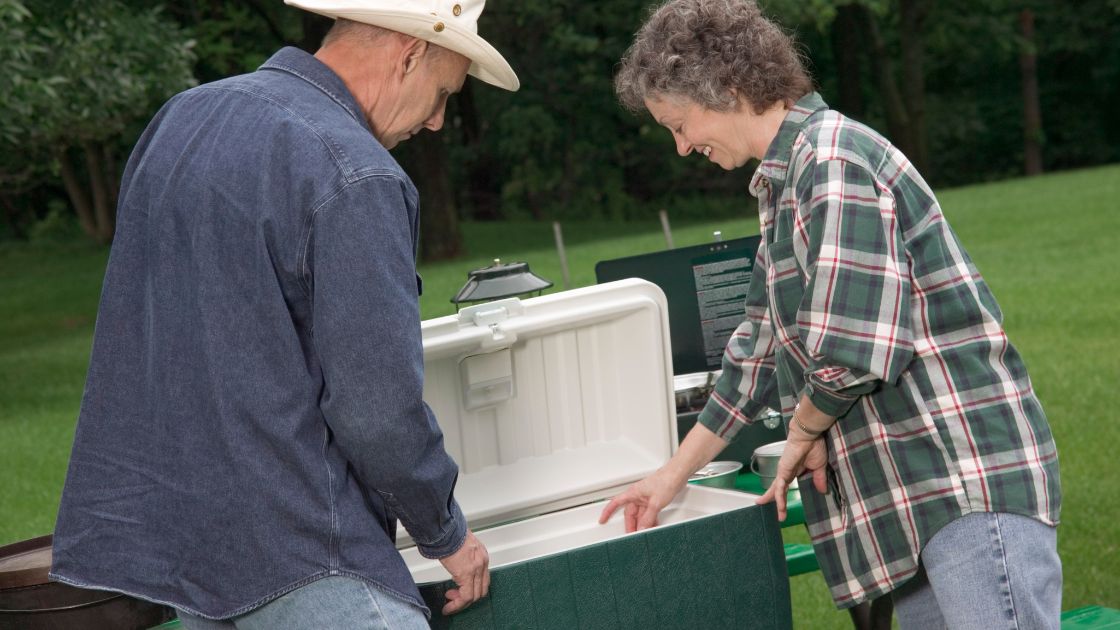
The first step to using dry ice in your cooler for camping is choosing the right cooler. Look for a well-insulated, durable cooler that can withstand extreme temperatures and retain the cold. You can also opt for a high-end rotomolded cooler designed specifically for dry ice usage.
If you have a large amount of food and drinks, it’s best to use two separate coolers instead of cramming everything into one. This will help keep the dry ice insulated and prevent it from melting too quickly.
2. Purchase the correct amount of dry ice.
Achieving the perfect balance with your cooler is crucial. It’s important not to overload it with ice, yet you also want to ensure that your food remains cool throughout the entire camping trip. By accurately determining the amount of dry ice required, you can efficiently utilize your cooler space while keeping your food at the ideal temperature.
The general rule of thumb is to purchase three pounds of dry ice per day for every 15 quarts of cooler space. However, this can vary depending on factors such as outside temperature, type of cooler, and the items you’re trying to keep cold.
3. Pre-freeze your food to ensure freshness.
To maximize the effectiveness of dry ice, pre-freeze all your food items before packing them into the cooler. This will help maintain a consistent and safe temperature inside the cooler, ensuring that your food stays fresh for longer periods.
4. Wrap the dry ice in brown paper for added safety.
To prevent any potential damage to your food items, wrap the dry ice in a few layers of brown paper before placing it inside the cooler.
Wrapping your dry ice in newspapers or brown paper serves two important purposes. Firstly, it provides insulation, effectively slowing down the sublimation process of the dry ice. This means it will last longer and be more effective. Secondly, the newspapers act as a protective layer, safeguarding you in case of accidental contact with the ice.
Using two or three layers of newspapers is typically sufficient, but adding more is always an option. If you plan on placing the dry ice at the bottom of your cooler, you can wrap it thick enough to cover the entire surface area, ensuring minimal air gaps and maximizing its cooling capacity.
5. Create a barrier between the dry ice and your food items.
To ensure your food remains cool without freezing, it’s important to prevent direct contact between your provisions and the dry ice. While using newspapers as a barrier can provide some assistance, it may not be sufficient. A folded double towel, on the other hand, serves as an excellent buffer to protect your food from freezing.
To further protect your food from direct contact with dry ice, create a barrier using plastic containers or cardboard boxes. This will also help prevent any potential freezing of your food items.
6. Place the ice either at the top or the bottom of the cooler.

The placement of dry ice inside the cooler can make a significant difference in its effectiveness. You can either place it at the top or bottom, depending on your preference and what you’re trying to keep chilled.
To maximize convenience and minimize the risk of accidental burns, many people opt to place the dry ice at the bottom of the cooler. This method ensures better cooling efficiency and longer-lasting freshness for your goods, as cold air naturally sinks downwards. However, it does require more frequent handling of the ice. Ultimately, the choice is yours to make based on what suits you best.
7. Strategically pack your food and ice inside the cooler.
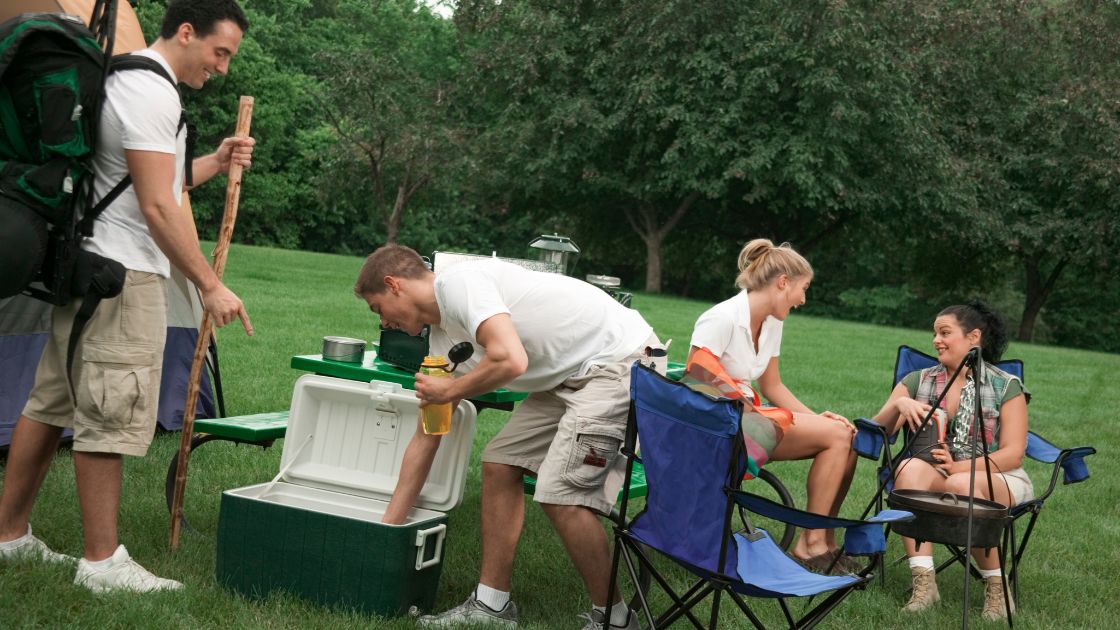
To ensure maximum insulation and prevent any air leakage, pack your items tightly inside the cooler. You can use ice packs or frozen water bottles to fill empty spaces and help keep the temperature low.
In order to maximize the longevity of your food and dry ice’s coldness, it is important to minimize the frequency of opening your cooler. When packing, place items that will be used last or least frequently at the bottom to avoid the need to remove everything just for a single item located below.
8. Minimize empty spaces by using newspapers to fill gaps.
Newspapers are an excellent option for filling any remaining gaps in your cooler. They provide insulation and can help absorb any moisture that may accumulate from the dry ice.
9. Keep your cooler in a cool location.
For optimal results, keep your cooler in a shaded area or cover it with a blanket to prevent direct sunlight. This will help maintain a consistent temperature inside the cooler and make the dry ice last longer.
10. Dispose of dry ice properly and safely.
Once you’re done using dry ice, never dispose of it by throwing it in the trash or allowing it to melt in a closed container. Always follow proper disposal methods, such as putting it outside and letting it evaporate or sublimate.
Common Questions About How to Use Dry Ice in a Cooler for Camping
It’s time to answer some common questions about how to use dry ice in a cooler for camping.
What to keep in mind when using dry ice in a cooler for camping?
- Stay safe: Ensuring safety when handling dry ice is not just a suggestion, but an absolute necessity. Mishandling or improper use of dry ice can lead to severe injuries or even fatalities. However, there is no need to panic as long as you adhere to some basic precautions. In fact, dry ice is relatively safe, comparable to our familiarity with using fire during camping trips. Let’s dive into the essential safety measures to keep in mind when working with dry ice.
- Always use dry ice in open spaces: When dry ice sublimates, it transitions back into the gaseous state of carbon dioxide. It’s important to note that excessive concentrations of CO2 in the air can have detrimental effects on our health. Breathing in high levels of CO2 can lead to symptoms such as headaches, drowsiness, difficulty concentrating, shortness of breath, and fatigue. Prolonged exposure to environments with high levels of CO2 can even result in loss of consciousness or, in extreme cases, death. Therefore, it is crucial to exercise caution and prioritize safety when handling dry ice.
- Always use barriers when handling dry ice. The extremely cold temperatures can cause burns if it comes into direct contact with your skin. Treat freezing temperatures with the same caution as you would with extremely hot temperatures. Additionally, consider using a barrier or placing cardboard over the dry ice when it’s at the bottom of a cooler. This will help prevent accidental contact when searching for items in the cooler.
- Ensure the safe storage of dry ice at all times: This is particularly crucial when camping with young children, as it is essential to prevent any accidental contact that could cause harm. If the children are older, it is advisable to educate them about the potential safety hazards associated with dry ice.
What is the temperature of dry ice?
Dry ice is comprised of carbon dioxide gas, existing at temperatures below -109.3 degrees Fahrenheit or -78.5 degrees Celsius. It’s important to note that dry ice isn’t technically “made” of anything; rather, it occurs naturally. Notably, dry ice is significantly colder than regular ice, with a resting temperature of -109.3 degrees Fahrenheit or -78.5 degrees Celsius, rendering it capable of causing burns due to its extreme coldness.
Sublimation is the term used to describe the transformation of a frozen substance directly into a gas, bypassing the liquid phase. It serves as the counterpart to melting, showcasing the remarkable transition that occurs.
How should you properly store dry ice?
Storing dry ice can be challenging due to its requirement for extremely low temperatures to maintain stability (below -109.3 degrees Fahrenheit or -78.5 degrees Celsius). However, the duration before sublimation increases with improved insulation, providing protection against high ambient temperatures.
Video Tips for Using Dry Ice for Camping
To complement what we’ve covered in this guide, check out this short and helpful video tips on how to use dry ice in a cooler for camping.
Final Thoughts
In conclusion, using dry ice in a cooler for camping can be an effective way to keep your food and drinks cold, prolonging their freshness and improving your overall camping experience. It’s crucial to understand the characteristics of dry ice and the necessary precautions when handling it to ensure safety.
By utilizing it properly, dry ice can become an essential part of your camping adventures, offering a reliable solution for preserving your food and drinks during extended trips. As with any aspect of camping, preparation is key, and understanding how to use dry ice effectively will ensure a successful outdoor experience.