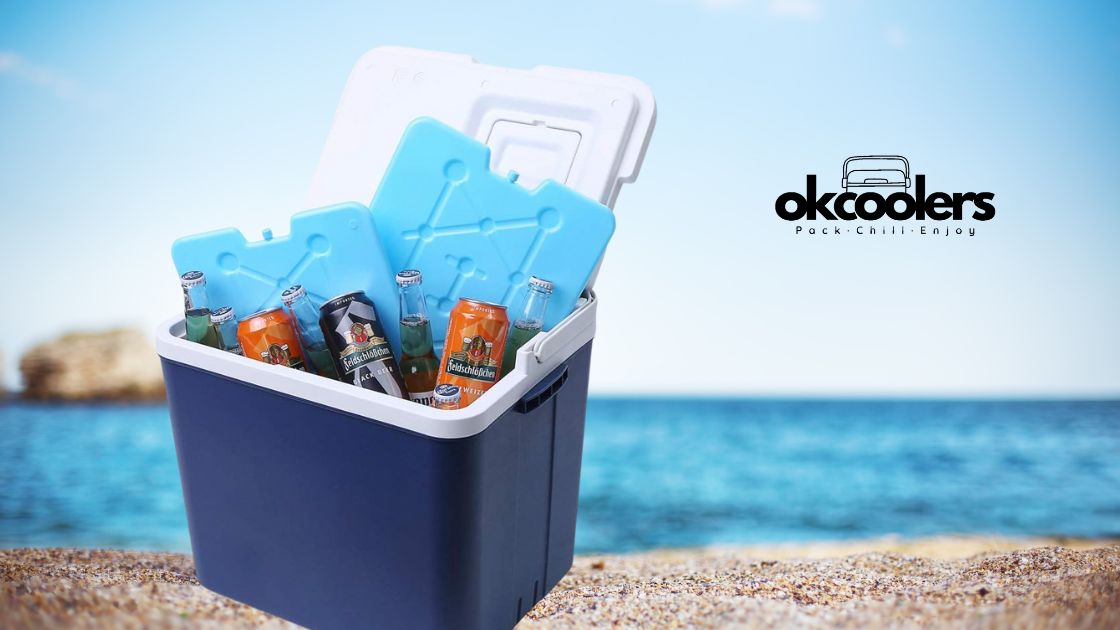
Imagine this: It’s a hot summer day, and you’re getting ready for a day at the beach. You pack your cooler with ice, drinks, and snacks, excited for a refreshing time by the water. But as the day goes on, you notice that the ice in your cooler is melting fast, leaving your drinks lukewarm and your food less than appetizing. We’ve all been there!
But fear not! In this article, we’ll share with you 5 innovative DIY methods to make frozen ice packs for your cooler. These methods are simple, cost-effective, and use common household items. Whether you’re heading to a picnic, a camping trip, or just want to keep your drinks chilled during a backyard barbecue, these techniques will help you create ice that lasts longer, keeping your cooler contents cold and refreshing.
Ready to make your cooler ice last as long as possible? Let’s dive in!
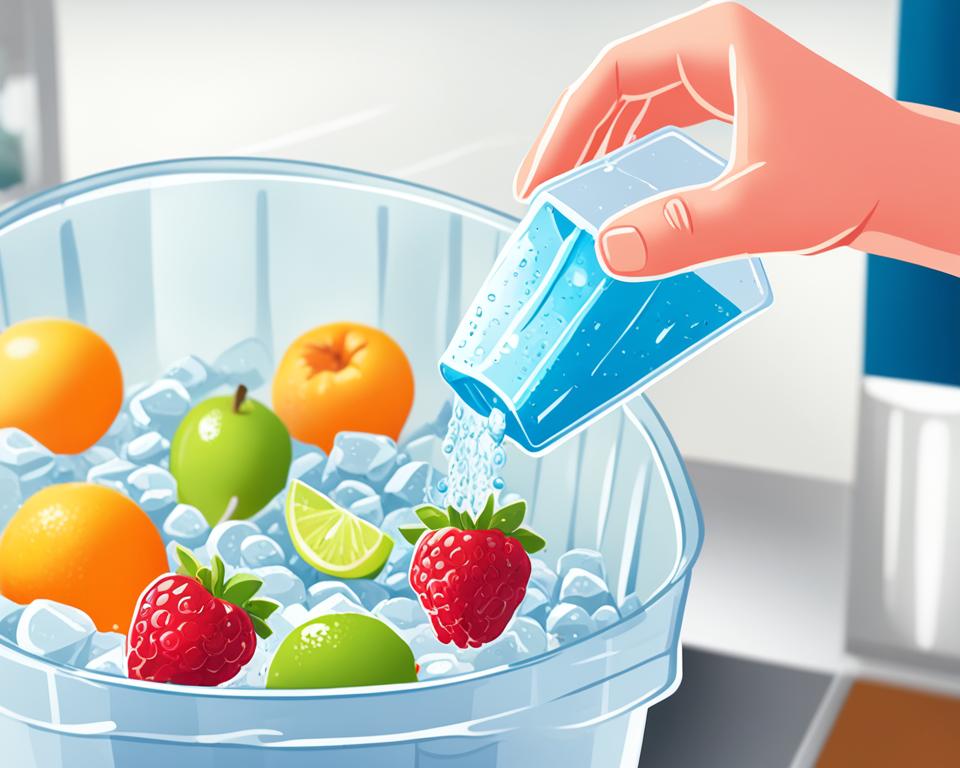
How to Make Frozen Ice for Cooler – Key Takeaways:
- Learn 5 innovative DIY methods to make frozen ice packs for your cooler.
- Discover how to create flexible ice packs using corn syrup, dish soap, rubbing alcohol and water, salt and water, or a wet sponge.
- Keep your drinks and food chilled for hours with these cost-effective homemade ice packs.
- Prepare your cooler ice step-by-step with these effective cooler ice making methods.
- Get ready to enjoy a refreshing and cool experience no matter where your adventures take you!
Method 1: Corn Syrup Ice Pack
One method for making a homemade ice pack is using corn syrup. Corn syrup creates a gel-like ice pack that stays flexible and can easily mold around ankles, knees, wrists, or other sore areas. Simply pour some corn syrup into a ziploc bag, seal it, and put it in the freezer for several hours. This method is especially useful for injuries because it retains its flexibility and doesn’t change texture or color in the freezer.
| Advantages | Disadvantages |
|---|---|
| Retains flexibility | May be messy if not sealed properly |
| Easy to mold | Requires corn syrup |
| Does not change texture or color in the freezer |
Method 2: Dish Soap Ice Pack
When it comes to making a homemade ice pack, dish soap can be a game-changer. Not only is it simple to create, but it also results in a flexible ice pack that can be molded to fit your needs. Whether you’re looking to ease a sore muscle or keep your beverages chilled, a dish soap ice pack is a versatile option.
To make a dish soap ice pack, all you need is some dish soap and a ziploc bag. Here’s how to do it:
- Pour dish soap into a ziploc bag. The amount you use will depend on the size of the bag and how much ice pack you want to make, but a good rule of thumb is to fill the bag about halfway.
- Seal the Ziploc bag tightly to prevent any leaks or spills.
- Place the bag in the freezer and let it freeze for a few hours.
As the dish soap freezes, it transforms into a solid but pliable texture, allowing the ice pack to conform to the shape of your body or cooler. The longer you leave the ice pack in the freezer, the icier and firmer it becomes. For a softer and more flexible ice pack, you can remove it from the freezer after about 2 hours.
Not only is this method convenient and customizable, but it also does not require any measuring. You can use any size ziploc bag depending on your needs and the amount of ice pack you want to make.
So next time you need a homemade ice pack, reach for that trusty bottle of dish soap and create a flexible ice pack that will keep things cool and comfortable.
Benefits of using a dish soap ice pack:
- Flexibility: The dish soap ice pack can be easily molded to fit any body part or cooler.
- Versatility: It can be used for various purposes, from soothing sore muscles to keeping food and drinks chilled.
- Customizable: You can adjust the size of the ice pack by using different sizes of ziploc bags.
| Dish Soap Ice Pack | Advantages |
|---|---|
| Simple to make | Requires only dish soap and a ziploc bag |
| Flexible | Can be molded to fit any body part or cooler shape |
| Icy and firm | Leaving it in the freezer for longer results in a firmer texture |
| Soft and pliable | Removing it from the freezer after 2 hours creates a softer and more flexible ice pack |
Method 3: Rubbing Alcohol and Water Ice Pack
Another effective method for creating a homemade ice pack is by combining rubbing alcohol and water. This unique mixture results in an ice pack that remains flexible even when frozen. The combination of rubbing alcohol and water prevents the mixture from freezing completely, making it easy to mold and use.
To make a rubbing alcohol and water ice pack, you will need the following:
- 1.5 cups of water
- 0.5 cups of rubbing alcohol
- A quart-size ziploc bag
Simply combine the water and rubbing alcohol in the ziploc bag and seal it tightly. You can also add a few drops of green wintergreen rubbing alcohol for a touch of color. Shake the bag gently to mix the ingredients together.
Place the sealed ziploc bag in the freezer and leave it for several hours or until it reaches the desired level of freezing. The rubbing alcohol and water mixture will turn into a slush-like consistency, allowing you to easily mold the ice pack to fit around different body parts or containers.
If you prefer a smaller ice pack, you can cut the recipe in half and use a snack-size ziploc bag instead.
This homemade rubbing alcohol and water ice pack is perfect for providing targeted cold therapy for injuries or for keeping beverages and food items chilled in your cooler. Its flexibility and icy texture make it a versatile option for various cooling needs.
| Method | Flexibility | Freezing Time | Color Options |
|---|---|---|---|
| Rubbing Alcohol and Water | Flexible | Several hours | Green (optional) |
| Corn Syrup | Flexible | 4-6 hours | Clear |
| Dish Soap | Firm | 2-3 hours | Clear |
| Salt and Water | Firm | Several hours or overnight | Clear |
| Wet Sponge | Moist and soft | 2-3 hours | N/A |
Method 4: Salt and Water Ice Pack
Creating an ice pack with salt and water is a cheap and easy DIY method. When salt is added to water, it lowers the freezing point and prevents the water from freezing completely. This simple technique allows you to make a cost-effective ice pack for your cooler at home.
Instructions:
- Take a sandwich-size or quart-size ziploc bag.
- Add 2 tablespoons of salt to 2 cups of water.
- Seal the bag tightly to avoid any leaks.
- Place the bag in the freezer for several hours or overnight.
- Once frozen, your homemade salt and water ice pack is ready to use!
This DIY ice pack is not only cheap, but also easy to make. It provides a convenient way to keep your cooler cold and your food and beverages chilled during outdoor activities or picnics. The salt and water mixture creates a slushy consistency that maintains a consistent temperature for longer periods of time.
“The salt and water ice pack is a great option for those looking for an affordable and effective cooling solution. It’s a simple DIY method that anyone can do at home.”
By using this method, you can enjoy the benefits of a homemade ice pack without spending extra money on store-bought alternatives. Whether you’re heading to the beach, going on a camping trip, or simply packing a lunch, the salt and water ice pack is a practical and budget-friendly choice.
| Pros | Cons |
|---|---|
| Cost-effective | Requires a larger ziploc bag for bigger ice packs |
| Easy to make | May not stay cold as long as gel-based ice packs |
| Creates slushy consistency | Not suitable for injuries or medical purposes |
As with any ice pack, it’s important to handle the salt and water ice pack with care, avoiding direct contact with skin to prevent frostbite or discomfort. This method is best suited for keeping food and drinks cool during outdoor adventures or everyday use.
Method 5: Wet Sponge Ice Pack
The simplest method for making a homemade ice pack is using a wet sponge. This method is perfect for lunches as it only requires water and doesn’t contain any potentially harmful substances.
To create a wet sponge ice pack:
- Select a clean sponge.
- Soak the sponge with water.
- Squeeze out the excess water.
- Place the sponge in the freezer.
The sponge will become hard and firm when first taken out of the freezer. However, as it warms up, it becomes moist and soft again, making it flexible to use. If desired, you can put the sponge in a baggie for added protection, but it is not necessary.
Using a wet sponge as an ice pack provides a convenient way to keep your food or drinks cool without the need for extra ingredients. It’s a simple and cost-effective solution for maintaining freshness and temperature in your cooler.
How to Make Frozen Ice for Cooler DIY Ideas
Along with the five main DIY ice pack methods, there are plenty of other creative solutions for making homemade ice packs. These ideas utilize common household items and offer flexibility for various needs. Here are a few additional DIY ice pack ideas to consider:
Freezing small packets of condiments: Next time you enjoy a meal from a fast food restaurant, save those extra packets of ketchup, mustard, or mayonnaise. Simply freeze them, and they can be used as mini ice packs for small items or as emergency coolers for bug bites and minor injuries.
Using water bottles or milk jugs: If you have empty water bottles or milk jugs at home, fill them partially with water and freeze them. These sturdy containers make great reusable ice packs for larger coolers or for keeping drinks and food chilled on the go.
Freezing ice cream tubs or similar containers: Don’t throw away those empty ice cream tubs! Rinse them out, fill them with water, and freeze them. These containers provide a versatile option for creating homemade ice packs of different sizes. You can even use them to cool down packed lunches or to give relief to bumps and bruises.
Filling balloons with water: Grab some balloons, fill them with water, and tie them securely. Place the balloons in the freezer until they are fully frozen. These colorful ice packs are great for soothing headaches, reducing swelling, or offering fun relief on a hot day.
Repurposing the bladder from a wine box: If you have an empty wine box bladder, wash it thoroughly and fill it with water. Seal it tightly and place it in the freezer. The slim design of the bladder makes it perfect for creating ice packs that can fit into tight spaces or wrap around joints and muscles.
With these additional DIY ice pack ideas, you can expand your options for homemade ice packs to suit different situations. Whether you need a homemade ice pack cover, a solution for small items, or a creative way to keep things cool, these ideas offer simple and cost-effective solutions for all your cooling needs.
FAQ
How do I make a homemade ice pack with corn syrup?
Pour corn syrup into a ziploc bag, seal it, and put it in the freezer for several hours.
What is the best way to make a homemade ice pack with dish soap?
Fill a ziploc bag with dish soap, seal it, and freeze it for a couple of hours for a softer and more flexible ice pack.
How can I make a homemade ice pack using rubbing alcohol and water?
Mix 1.5 cups of water with 0.5 cups of rubbing alcohol in a quart size ziploc bag and freeze it until desired consistency.
What is the easiest method to make a homemade ice pack with salt and water?
Add 2 tablespoons of salt to 2 cups of water in a sandwich or quart size ziploc bag and freeze it for several hours or overnight.
How do I make a homemade ice pack with a wet sponge?
Soak a clean sponge with water, squeeze out the excess, and freeze it. The sponge will become firm when frozen and soft when warmed up.
Are there any additional DIY ideas for making homemade ice packs?
Yes, you can freeze small packets of condiments, use water bottles or milk jugs, freeze ice cream tubs or containers, fill balloons with water, or repurpose the bladder from a wine box as alternative ice pack options.

