A few summers ago, my family and I decided to embark on a camping trip to beat the heat. As we packed our coolers with drinks, fruits, and snacks, we realized that we needed a reliable way to keep everything chilled throughout the journey. We didn’t want to rely solely on store-bought ice packs that might melt too quickly.
That’s when we discovered the wonders of homemade Freezer Cold Packs. With just a few simple ingredients and some creativity, we were able to make our own ice packs that kept our food and beverages refreshingly cool for the entire trip.
Today, I will share with you five DIY methods for making homemade freezer cold packs for coolers. These methods are not only cost-effective but also easy to follow. Whether you’re planning a picnic in the park or a long road trip, these homemade cold packs will ensure that your items stay chilled and ready to enjoy.
Homemade Freezer Cold Packs for Coolers – Key Takeaways:
- Create your own homemade freezer cold packs for coolers.
- Stay chilled on the go with these easy and cost-effective DIY methods.
- Choose from a variety of materials and ingredients to make homemade gel packs.
- Experiment with hydrophilic polymers for long-lasting cold packs.
- Compare the performance of DIY ice packs to retail options.
Homemade Freezer Cold Packs with Household Ingredients
One popular method for making homemade freezer cold packs is using a reusable zip-top bag and household ingredients. To make a DIY gel ice pack, you will need a reusable zip-top bag, water, rubbing alcohol, dish soap, and optional food coloring. The process involves:
- Mixing water and rubbing alcohol in a specific ratio
- Adding a dash of dish soap to prevent sticking
- Adding food coloring if desired for aesthetics
- Sealing the mixture in the bag
- Placing it in the freezer for a few hours or overnight
Once frozen, the gel ice pack can be used to chill items or provide relief for injuries.
Using a reusable zip-top bag for this method offers convenience and sustainability, as you can simply wash and reuse the bag whenever needed. The mixture of water, rubbing alcohol, dish soap, and food coloring creates a gel-like substance that maintains a cold temperature. The dish soap helps the gel mixture stay pliable and prevents it from sticking to surfaces. Food coloring can be added to enhance the visual appeal of the ice pack.
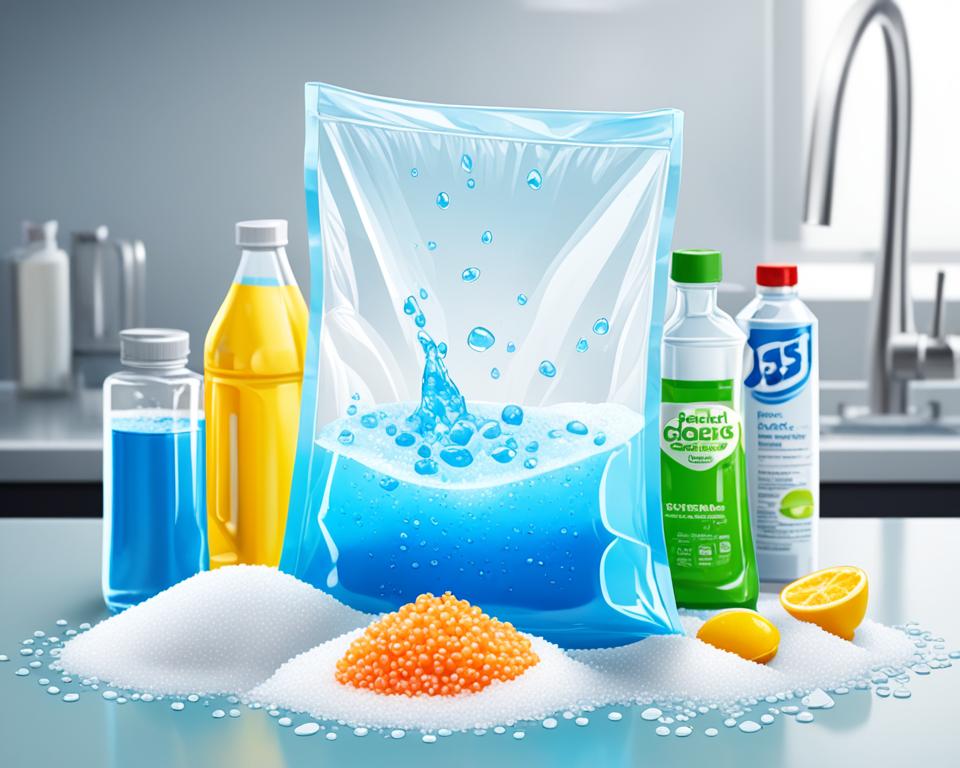
Here’s a visual representation of the Homemade Freezer Cold Packs method:
| Ingredients | Measurements |
|---|---|
| Water | 1 cup |
| Rubbing Alcohol | 1/2 cup |
| Dish Soap | A few drops |
| Food Coloring | Optional |
Remember to seal the bag tightly to prevent any leaks or spills. The gel ice pack is now ready to be used whenever you need to keep things cool or provide relief from minor injuries.
DIY Nontoxic Ice Pack with Corn Syrup
Homemade Freezer Cold Packs are great for those looking for a nontoxic alternative, a DIY corn syrup ice pack is a great option. To make this ice pack, you will need a reusable zip-top bag and corn syrup. Simply pour corn syrup into the bag, remove any excess air, seal the bag, and place it in the freezer for a few hours or overnight.
The corn syrup will prevent the pack from freezing solid, making it soft and flexible. This type of ice pack is not only suitable for injuries but also a safe option for packing lunches, as any leaks will be sticky rather than harmful.
Step-by-Step Guide: Homemade Freezer Cold Packs with Corn Syrup
Follow these simple steps to create your own DIY nontoxic ice pack with corn syrup:
- Prepare the materials: Ensure you have a reusable zip-top bag and corn syrup.
- Pour the corn syrup: Open the zip-top bag and pour the desired amount of corn syrup into it. The quantity will depend on the size of the bag and your preferences.
- Remove excess air: Carefully press the bag to remove any excess air, ensuring it is tightly sealed.
- Freeze the ice pack: Place the sealed bag in the freezer and allow it to freeze for a few hours or overnight. The corn syrup will prevent it from freezing solid, giving it a flexible consistency.
Once your DIY nontoxic ice pack with corn syrup is frozen, it is ready to use! Whether you need it for injuries, to keep your food cool, or for any other purpose, this homemade ice pack provides a safe and effective solution. Enjoy the benefits of a homemade ice pack without any harmful chemicals or toxins.
Experimenting with Hydrophilic Polymers for Long-Lasting Cold Packs
Looking for an innovative approach to creating long-lasting cold packs? Experimenting with hydrophilic polymers can be a fascinating solution. These crystals are known for their ability to absorb a significant amount of water and manipulate freezing points. While typically used in gardening, hydrophilic polymers can also be utilized effectively in homemade ice packs. By adjusting the composition of the mixture, you can customize the performance and create the most efficient homemade ice packs.
The process involves mixing the hydrophilic polymer crystals with various substances like salt, alcohol, or propylene glycol, resulting in a gel-like consistency. Each mixture can then be frozen and assessed for its coldness and ability to remain frozen over time. This experimentation allows you to find the optimal formula for creating homemade ice packs that suit your requirements.
Here is a practical example of an experiment using hydrophilic polymers:
- Mix 1 cup of hydrophilic polymer crystals with 1/4 cup of salt.
- Add 1 cup of water and stir well until the crystals are fully hydrated.
- Pour the gel-like mixture into a sealable bag and remove any excess air.
- Place the bag in the freezer for at least 4 hours or until fully frozen.
- Take out the homemade ice pack and test its coldness and durability.
This simple experiment allows you to gauge the performance and effectiveness of the hydrophilic polymers in maintaining a consistent low temperature. Through such trials, you can identify the ideal combination of ingredients and adjust the ratios to achieve the desired level of coldness and longevity.
Your Results Matter: Tracking the Coldness and Longevity
To accurately compare the performance of different homemade ice packs, it is crucial to record and analyze their coldness and longevity. Here is a sample table detailing the results obtained from various hydrophilic polymer experiments:
| Hydrophilic Polymer Experiment | Coldness (°F) | Longevity (hours) |
|---|---|---|
| Hydrophilic Polymer + Salt | 20°F | 12 hours |
| Hydrophilic Polymer + Alcohol | 15°F | 10 hours |
| Hydrophilic Polymer + Propylene Glycol | 18°F | 14 hours |
These results illustrate the differences in coldness and longevity achieved by varying the substances mixed with hydrophilic polymers. By tracking and comparing these metrics, you can determine the most effective formula for homemade ice packs tailored to your specific needs.
Experimenting with hydrophilic polymers offers a wealth of possibilities for creating long-lasting cold packs. By harnessing the unique properties of these crystals, you can optimize your homemade ice packs and ensure that they provide reliable cooling for extended periods. Get creative and explore the potential of hydrophilic polymers in crafting ice packs that keep your items refreshingly cold.
Comparing DIY Ice Packs to Retail Options
When it comes to keeping your items chilled on the go, homemade ice packs can be a cost-effective and efficient solution. But how do they compare to retail options? A performance comparison was conducted, and the results were quite impressive.
DIY ice packs, especially those made with a combination of propylene glycol and hydrophilic polymers, outperformed retail ice packs in terms of temperature control. On average, DIY ice packs were able to keep coolers 10°F colder and maintained below freezing temperatures for close to 24 hours.
These findings highlight the effectiveness and cost-efficiency of homemade ice packs. Instead of relying on store-bought options, making your own ice packs can be a practical and advantageous choice. Not only do they perform better, but they also save you money in the long run.
So, whether you need an ice pack for an injury or want to keep your beverages cold during a picnic, consider trying DIY ice packs. With their superior performance and affordability, it’s clear that homemade ice packs are the way to go.
FAQ
Q: How do I make a DIY gel ice pack using household ingredients?
A: To make a DIY gel ice pack, you will need a reusable zip-top bag, water, rubbing alcohol, dish soap, and optional food coloring. Mix water and rubbing alcohol in a specific ratio, add a dash of dish soap to prevent sticking, and add food coloring if desired. Seal the mixture in the bag and place it in the freezer for a few hours or overnight. Once frozen, you can use the gel ice pack to chill items or provide relief for injuries.
Q: How can I make a nontoxic DIY ice pack with corn syrup?
A: For a nontoxic ice pack, you will need a reusable zip-top bag and corn syrup. Simply pour corn syrup into the bag, remove any excess air, seal the bag, and place it in the freezer for a few hours or overnight. The corn syrup will prevent the pack from freezing solid, making it soft and flexible. This type of ice pack is safe for packing lunches as any leaks will be sticky rather than harmful.
Q: Can I use hydrophilic polymers to make long-lasting cold packs?
A: Yes, hydrophilic polymers can be used to make long-lasting cold packs. Mix the hydrophilic polymer crystals with substances like salt, alcohol, or propylene glycol to create a gel-like mixture. Freeze and test these mixtures for their coldness and ability to stay frozen over time. This experimentation allows for customization and finding the most effective formula for homemade ice packs.
Q: How do DIY ice packs compare to retail options in terms of performance?
A: DIY ice packs, particularly those made with a combination of propylene glycol and hydrophilic polymers, outperform retail ice packs. Tests have shown that homemade ice packs can keep coolers 10°F colder on average and maintain below freezing temperatures for close to 24 hours. This highlights the effectiveness and cost-efficiency of homemade ice packs compared to their retail counterparts.

