How to Keep a Cooler Frozen for a Week? Imagine this, you’ve meticulously planned a week-long camping trip with your friends. You’ve packed your tents, sleeping bags, and all the essential gear. And of course, you’ve stocked up on plenty of food and drinks to keep everyone fueled and hydrated throughout the adventure.
But there’s one challenge you’re dreading – keeping your cooler cold and the contents fresh for the entire week. We’ve all been there; the disappointment of finding soggy sandwiches and warm sodas when all you wanted was an ice-cold treat after a long hike.
How to Keep a Cooler Frozen for a Week – Start With a Cold Cooler
When it comes to keeping your cooler frozen for a week, starting with a cold cooler is key. By chilling the interior, you can lower the temperature and create a colder environment for your items. This simple step can significantly extend the cooling time and help preserve your perishables.
There are a few strategies you can use to chill the interior of your cooler. If you have access to a walk-in cooler, simply leave your cooler inside for a while. The colder environment will help bring down the temperature of your cooler before you start packing it with contents.
Another method is to pre-chill your cooler with frozen water or milk jugs. Fill the jugs with water or milk, freeze them solid, and then place them inside the cooler. The frozen jugs will help lower the interior temperature and create a cold environment for your items.
If you’re on a camping trip and don’t have access to a walk-in cooler or frozen jugs, you can take advantage of the cooler night air. Leave your cooler outside during the night, allowing the cooler to absorb the cooler air. Alternatively, you can also keep your coolers in the shade during the day to minimize exposure to direct sunlight and heat.

Fill with Cold or Chilled Contents Whenever Possible
When it comes to maximizing the cooling efficiency of your cooler, it’s essential to start with cold contents. By filling your cooler with pre-chilled beverages and cold foods, you can significantly extend the lifespan of your ice. Here are some tips to keep in mind:
- Start with cold contents: By placing items that are already cold or chilled into the cooler, you reduce the workload of the ice and the cooler in maintaining a low temperature. This helps preserve the ice for longer periods and keeps your contents fresh.
- Pre-chill your food: If you’re planning a fishing trip and have just caught fish from cold waters, it’s crucial to place them in the cooler as soon as possible. The colder the fish, the longer it will stay fresh. Similarly, if you’re carrying meat, consider hanging it overnight in the cool night air before placing it in the cooler. This pre-chilling step can significantly enhance the effectiveness of your cooler.
By adhering to these practices, you’ll be able to keep your cooler colder for an extended period, ensuring that your food and beverages stay fresh and enjoyable throughout your outdoor adventures.
Remember, the key is to minimize the amount of warm air that enters the cooler. By starting with cold contents and following the other tips in this guide, you’ll be able to optimize the cooling performance of your cooler and have an enjoyable outdoor experience.
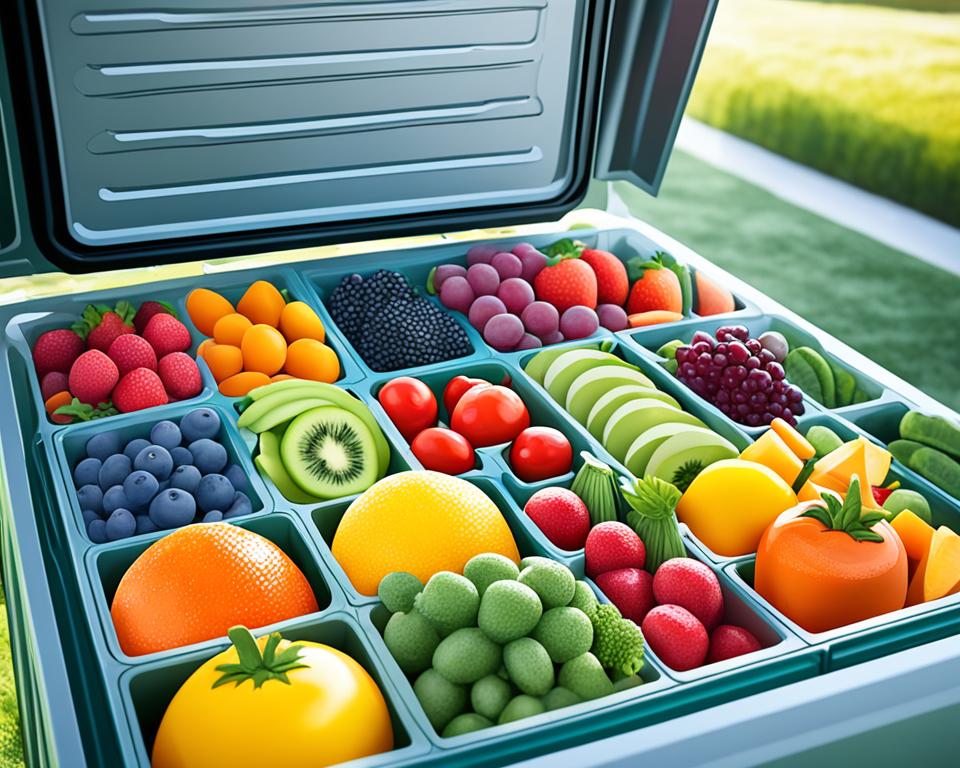
Pack Items Densely
When it comes to maximizing cooler performance, packing your items densely is key. By leaving as little airspace as possible, you can ensure optimal cooling efficiency. Here are some expert tips to help you pack your cooler effectively:
- Layer ice on top of the contents: By placing a layer of ice on top of your items, you can fill the cooler to its full capacity. This helps minimize empty space and keeps the contents colder for longer periods.
- Surround contents with ice or ice packs: To boost insulation and maintain a consistently low temperature, surround your items with ice or ice packs. This creates an extra layer of insulation, further extending the cooling time.
- Use proper insulation materials: Consider using materials like foam or insulation blankets to create a barrier between the contents and the outer cooler walls. This additional insulation can help enhance the cooler’s cooling capabilities.
By packing your cooler densely and layering ice on top of the contents, you can maximize its cooling efficiency. Surrounding the contents with ice or ice packs and using insulation materials also helps boost insulation, keeping your items colder for longer. Remember, proper packing techniques are essential for maintaining the desired temperature inside your cooler throughout your outdoor adventures.
Expert Tip:
“When packing your cooler, think of it as a puzzle. Try to fit everything tightly together, using ice and insulation materials strategically to create a well-insulated environment for your items.”
Keep the Cooler Closed
One of the key strategies for keeping your cooler frozen for a week is to keep the cooler closed as much as possible. When the cooler lid is sealed, it helps maintain a tight seal and minimize air exposure. Every time the seal is broken, warmer air is introduced, which causes the ice inside the cooler to work harder in order to chill the contents again.
To prevent unnecessary air exposure and maintain the integrity of your cooler’s cooling capabilities, it is important to maximize the efficiency of the seal. Grizzly Coolers, known for their exceptional quality, feature a rubber gasket and BearClaw™ Latches that help maintain a tight seal. These features keep the cold air trapped inside the cooler until you’re ready to open it.
| Benefits of Keeping the Cooler Closed |
|---|
| Minimizes warm air entering the cooler |
| Reduces the strain on the ice to maintain the cooling temperature |
| Prolongs the lifespan of the ice and preserves its cooling power |
| Prevents frequent opening and closing, which can lead to temperature fluctuations |
By following the practice of keeping your cooler closed and maintaining a tight seal, you can significantly extend the duration of the cooler’s cooling capabilities. This ensures that your food, beverages, or other perishable items remain properly chilled throughout your outdoor adventures.
Insulate the Cooler Exterior
Insulating the cooler exterior is an essential step to prolong the cooling time of your cooler. By taking simple precautions to protect your cooler from external elements, you can ensure that the interior remains colder for longer, preserving the freshness of your perishables.
“Insulating the cooler exterior helps prolong cooling time.”
To keep your cooler out of direct sunlight, it is recommended to place it inside your vehicle or any shaded area. Direct exposure to sunlight can quickly raise the temperature inside the cooler, compromising the effectiveness of the cooling process. Shielding the cooler from direct sunlight can make a significant difference in maintaining the desired coolness over an extended period.
“Keep the cooler out of direct sunlight by placing it inside the vehicle and wrapping it in a blanket or sleeping bag.”
Additionally, wrapping your cooler in a blanket or sleeping bag can offer an extra layer of insulation. The insulation helps to trap the cold inside the cooler and prevent heat transfer from the surroundings. This simple yet effective method can significantly improve the cooler’s cooling efficiency.
“Strapping the cooler onto a trailer or roof rack can also provide insulation.”
If you are traveling or camping with the cooler, consider strapping it onto a trailer or roof rack. The movement of air while the vehicle is in motion can assist in maintaining the cooler’s temperature. However, be cautious to secure the cooler properly and prevent any accidents or damage.

| Methods | Benefits |
|---|---|
| Placing the cooler in the shade | Prevent direct sunlight exposure and heat buildup |
| Wrapping the cooler in a blanket or sleeping bag | Provides an extra layer of insulation |
| Strapping the cooler onto a trailer or roof rack | Utilizes moving air to help maintain cooler temperature |
By insulating the cooler exterior and implementing these strategies, you can significantly extend the cooling time of your cooler. This ensures that your food, beverages, and other perishables stay fresh and chilled, even in hot weather conditions or during extended trips.
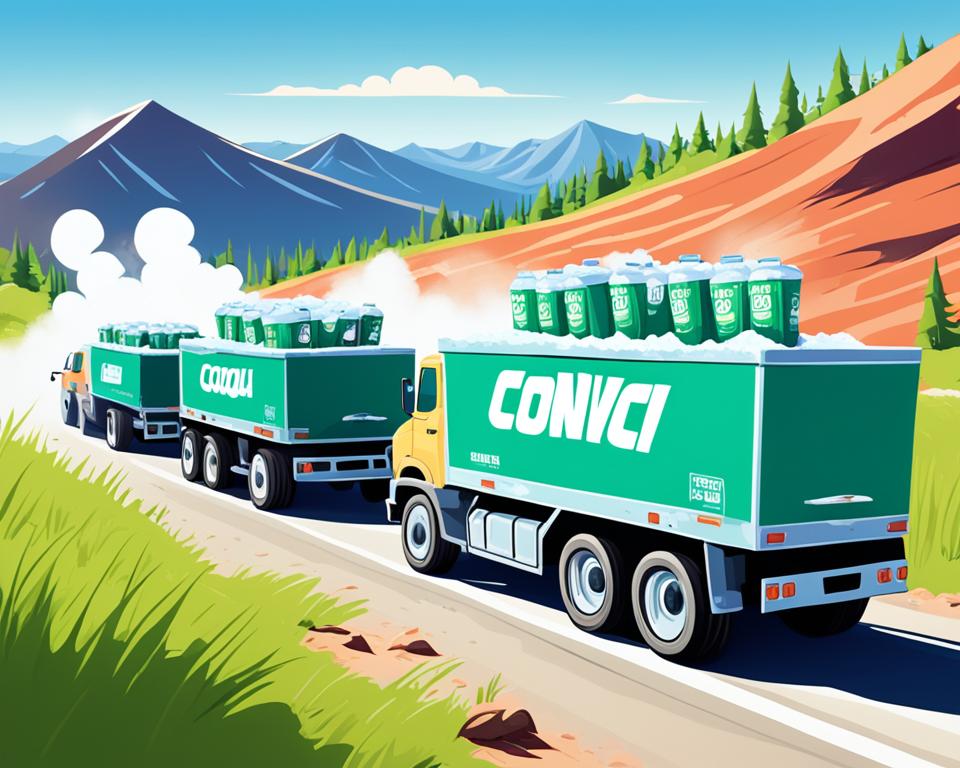
Run with Multiple Coolers
When it comes to keeping your items cold for extended periods of time, running with multiple coolers can be a game-changer. By designating specific coolers for different purposes, you can optimize their functionality and ensure the longevity of your cooling power.
One effective strategy is to designate one cooler for frequently accessed items such as food and beverages. This cooler can be opened more often without compromising the coldness of the other coolers. By keeping other coolers chilled, closed, and ready to fill with game meat or catch, you can maintain their coldness and avoid unnecessary opening of the main cooler.
This approach is particularly useful during outdoor activities such as camping, fishing, or hunting. For example, if you’re on a camping trip, you can designate one cooler for snacks, drinks, and frequently used condiments, while keeping another cooler exclusively for meat and fish storage.
By running with multiple coolers, you can ensure that the contents of each cooler remain chilled and closed, maximizing their cooling potential and preventing any unnecessary exposure to warm air. This strategy is especially important when it comes to preserving perishable items and maintaining food safety.
“Running with multiple coolers allows you to better organize your supplies and maintain the desired temperature for each category of items. It’s a practical and efficient way to ensure your food and beverages stay fresh and chilled throughout your trip.”
So, whether you’re planning a camping adventure, a fishing excursion, or a tailgate party, consider using multiple coolers for different purposes. With this approach, you can run with confidence, knowing that your coolers are designated to keep your items chilled, closed, and ready to enjoy whenever you need them.
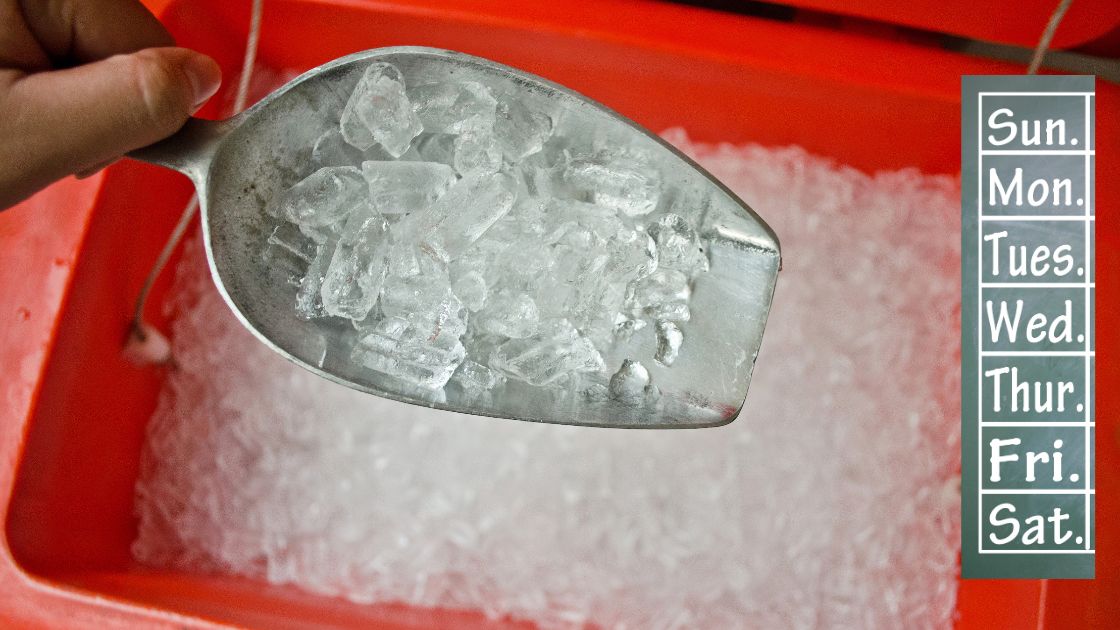
Use Ice, Ice Packs, Frozen Jugs, or Dry Ice
When it comes to keeping your cooler contents cold, it’s important to choose the right cooling method. You have several options at your disposal, including ice, ice packs, frozen jugs, or dry ice, each with its own benefits and considerations.
Bags of ice are a classic choice, readily available and easy to use. They provide a reliable source of cold and can be replenished as needed. Commercial ice packs are another popular option, designed specifically for cooling and keeping items chilled. They are reusable and often come in various sizes to fit your cooler.
If you prefer a DIY approach, consider freezing water or milk jugs to act as homemade ice blocks. These frozen jugs are cost-effective and provide consistent cold temperatures for an extended period. Just make sure to leave some headspace for expansion when freezing the jugs.
For more extreme cooling needs, such as longer trips or extremely hot temperatures, dry ice can be a viable option. Dry ice is carbon dioxide in its solid state and can quickly freeze items in your cooler. However, it requires careful handling due to its low temperature, so make sure to follow the handling instructions. Keep in mind that dry ice may not be suitable for all situations, as it can freeze items to an extremely low temperature, affecting their quality.
How to Keep a Cooler Frozen for a Week – FAQ
Q: How can I keep a cooler frozen for a week?
A: To keep a cooler frozen for a week, follow these expert strategies:
Q: What can I do to start with a cold cooler?
A: There are several ways to start with a cold cooler:
– Chill the interior by leaving the cooler in a walk-in cooler.
– Add frozen water or milk jugs to lower the interior temperature.
– Let the cooler sit outside during the night to take advantage of the cool air.
Q: Should I fill the cooler with cold or chilled contents?
A: Yes, it is recommended to fill the cooler with cold or chilled contents whenever possible. Starting with cold items helps reduce the workload of the ice and cooler in keeping the contents chilled. Place pre-chilled beverages and cold foods in the cooler to retain ice longer. If fishing, put fish from cold waters into the cooler as soon as possible. You can also hang meat overnight in the cool night air before placing it in the cooler.
Q: What is the best way to pack items in the cooler?
A: To maximize cooler coolness, pack items densely. Layer ice on top of the contents to fill the cooler to full capacity. Surround the contents with ice or ice packs to provide an extra layer of insulation and boost the cooler’s insulating power. By leaving as little airspace as possible, you minimize heat transfer and ice melt.
Q: How important is it to keep the cooler closed?
A: It is crucial to keep the cooler lid closed to minimize air exposure. Every time the seal is broken, warm air enters, and the ice has to work harder to chill the contents again. Coolers with rubber gaskets and BearClaw™ Latches, like Grizzly Coolers, help maintain a tight seal and keep cold air trapped until you’re ready to open the cooler.
Q: How can I insulate the cooler exterior?
A: To prolong cooling time, insulate the cooler exterior. Keep the cooler out of direct sunlight by placing it inside the vehicle or in the shade. You can also wrap it in a blanket or sleeping bag to provide extra insulation. Strapping the cooler onto a trailer or roof rack can also help keep it cool.
Q: Is it advisable to use multiple coolers?
A: Yes, using multiple coolers can be beneficial. You can designate one cooler for food and beverages that will be opened more frequently. Keep other coolers chilled, closed, and ready to fill with game meat or your catch. This approach helps maintain the main cooler’s coldness and prevents frequent opening, ensuring better temperature retention.
Q: What are the best cooling methods for coolers?
A: You can use ice, ice packs, frozen jugs, or dry ice to keep items cold in coolers. Select the right cooling method based on your needs. Bags of ice or commercial ice packs work well for general cooling purposes. Frozen jugs are a convenient option, as they can be refrozen and reused. Dry ice can provide extremely low temperatures but requires proper handling. Keep in mind the desired temperature of the items you’re storing and follow the handling instructions for dry ice to avoid any safety issues.