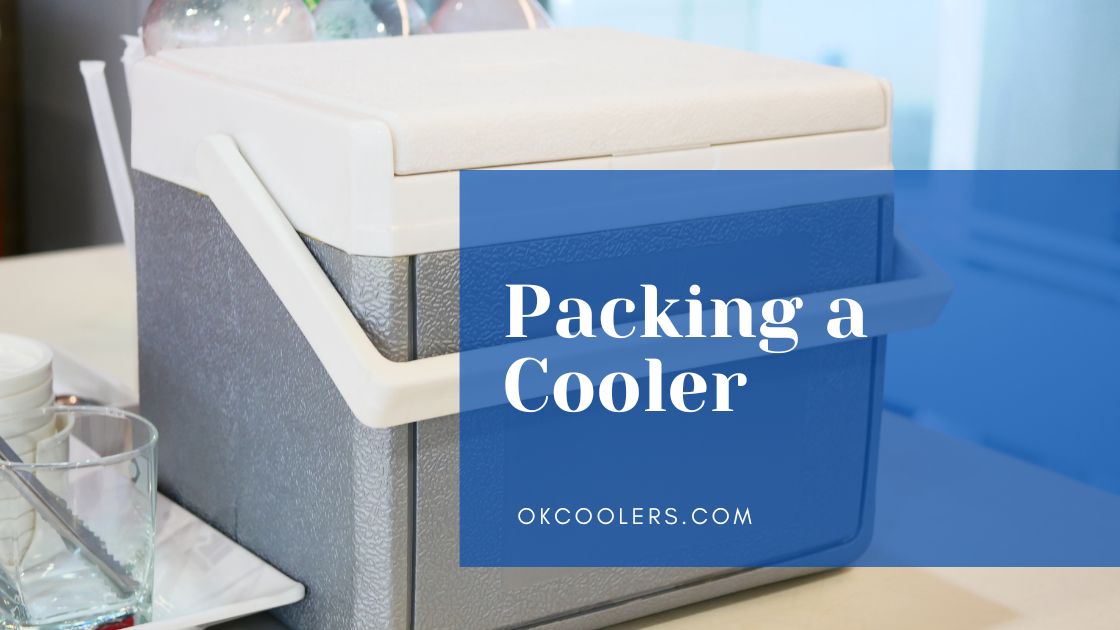
When it comes to enjoying outdoor activities, a well-packed cooler can be the hero of any picnic, camping trip, or day at the beach. It’s not just about loading it up with your favorite snacks and beverages; effectively packing a cooler requires a blend of science and strategy to keep your items fresh and cold for as long as possible.
Fortunately, packing a cooler like a pro isn’t as challenging as it might seem. With a few expert tips and clever hacks, you can maximize your cooler’s efficiency, ensure your food and drinks stay chilly and safe to consume, and minimize mess. So, whether you’re a seasoned camper or a newbie to the outdoor scene, get ready to take notes, because we’re about to dive into the secrets of packing a cooler.
Packing a Cooler Quick Guide
If you’ve struggled in the past with having to pack your cooler, with the following tips that will be a thing of the past! For more details on each tip about packing a cooler, continue reading below.
- Prior to packing, ensure that all food and drinks are chilled.
- Store food in waterproof containers to maintain its dryness and prevent crushing.
- Arrange the food in layers, placing ice between each layer.
- Fill the cooler to its maximum capacity for optimal results.
- If possible, dedicate a separate cooler for beverages to prevent frequent opening and loss of coolness.
- Position the cooler in the shadiest available spot.
- Do not discard melted ice water; it actually aids in prolonging the coolness of the food.
Packing a Cooler: Tips
Let’s delve deeper into the tips mentioned above for a better understanding of packing a cooler like the pros.
Prior to packing, ensure that all food and drinks are chilled
It’s crucial to chill all food and drinks before packing them in the cooler. Starting with cold items will help maintain the temperature inside the cooler, which results in maximizing its efficiency. By doing this, you’ll also prevent cross-contamination from raw meats or other uncooked foods.
Store food in waterproof containers to maintain its dryness and prevent crushing
Using waterproof containers for food will prevent moisture from seeping in and maintain the dryness of your snacks. It also helps to protect them from getting crushed by heavier items in the cooler.
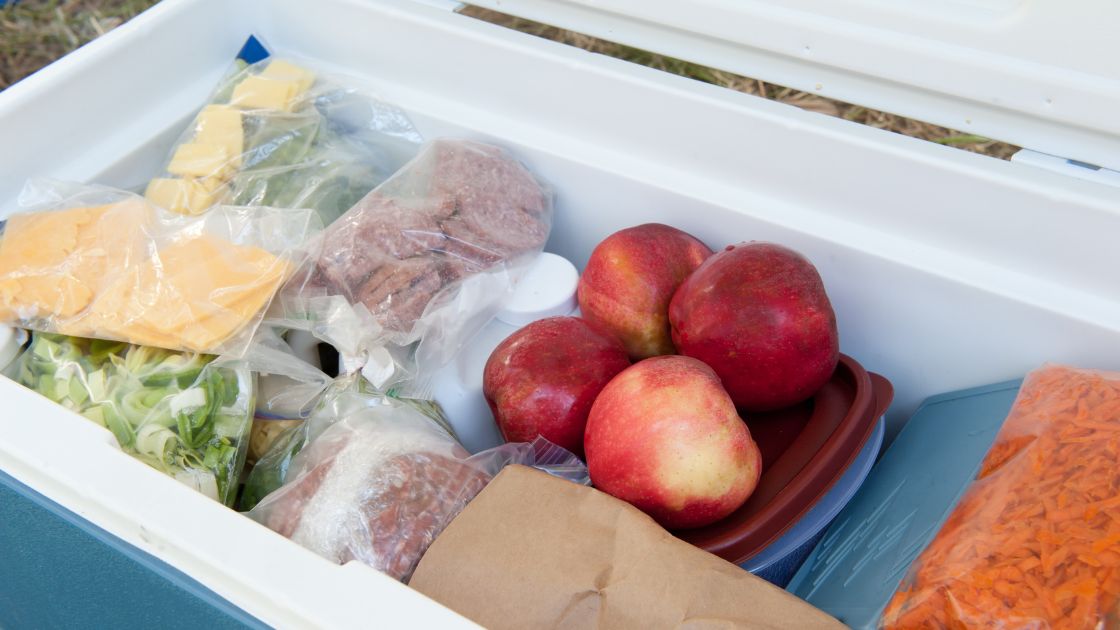
Arrange the food in layers, placing ice between each layer
To keep your food and drinks chilled evenly, it’s best to arrange them in layers with a layer of ice between each one. This will ensure that the ice is distributed evenly, and no items are left out of the cold.
Fill the cooler to its maximum capacity to avoid air gaps
A full cooler will retain its temperature better than a partially filled one. If you have extra space in your cooler, consider filling it with more ice or using towels or blankets to fill any gaps. This will help keep things colder for longer.
Avoid leaving any empty space, as this can hasten the melting process by using ice to cool the air. To prevent the burden of excessive weight, some experts suggest filling the remaining space with newspaper or paper towels.
If possible, dedicate a separate cooler for beverages to prevent frequent opening and loss of coolness.
Beverages are often the most frequently consumed items in a cooler, which means they require constant opening and closing. By dedicating a separate cooler for drinks, you won’t have to open the food cooler as often, allowing it to retain its temperature better.
When packing a cooler, it’s important to give beer enough space to avoid overcrowding. After all, campers tend to reach for a cold one more frequently than they do for food, which can deplete the ice needed to keep your chicken fresh. Remember, having a warm beer is definitely preferable to risking salmonella.
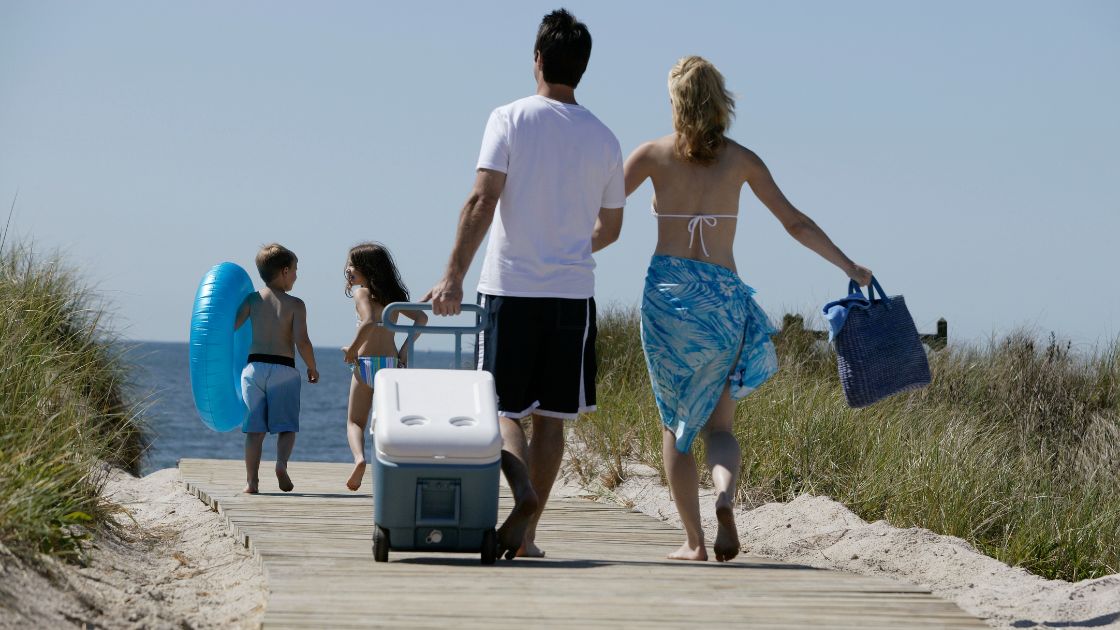
Position the cooler in the shadiest available spot
Sunlight can cause your cooler to heat up, causing ice to melt faster. By placing it in a shady spot, you’ll prevent unnecessary heat exposure and keep things colder for longer.
White coolers are excellent at minimizing heat absorption, and it is recommended to store all coolers in shaded areas for prolonged ice retention. When shade is unavailable, you may consider covering your cooler with a light-colored blanket or towel to mitigate heat exposure.
Do not discard melted ice water; it actually aids in prolonging the coolness of the food
Many people make the mistake of draining out the melted ice water from their cooler, thinking it will help keep things colder. However, this actually has the opposite effect. The melted ice water acts as an insulator and helps maintain the temperature inside the cooler. So, don’t discard it until you absolutely have to.
Resist the temptation to immediately drain the water from your cooler; it serves a valuable purpose. The water maintains a temperature nearly as cold as the ice, effectively insulating the remaining ice. Take precautionary measures to ensure that food and meat are shielded from the water by using a tray or a water-tight container.
Common Questions About Packing a Cooler
We’ll answer a few frequently asked questions about packing a cooler.
How to clean a cooler after your trip?
After returning home, it might be tempting to toss your cooler into a dark corner and head inside for a shower. However, I urge you to resist that temptation. Instead, take a moment to thoroughly clean your cooler with soap, warm water, and perhaps even a dash of bleach.
By doing so, you will prevent the festering of any bacteria that may be lurking inside. Once the cleaning is complete, allow the cooler to air-dry completely. Even a small amount of residual water can create an ideal breeding ground for all sorts of unpleasant odors.
How big should a cooler be?
For optimal storage of cold and frozen food during most trips, it is advisable to opt for hard-sided models with a capacity ranging from 65 to 70 quarts. This site provides ample space to accommodate your needs while ensuring the efficient preservation of your items.
Where should you place delicate food in the cooler?
Place more delicate items, such as easily bruised fruits and vegetables, condiments, and eggs, at the top of your cooler. To provide added protection without occupying excessive space, consider wrapping tomatoes in bubble wrap or sliding a few avocados into an inexpensive tube sock.
How to keep other foods away from the ice when packing a cooler?
To avoid the unpleasant sight of a bruised tomato or lettuce floating in a pool of melting ice, it’s a wise idea to use shelf risers in your cooler. These risers act as a barrier between the frozen items at the bottom and everything else. Ideally, choose risers that are about 5 inches tall or slightly higher, ensuring they are slightly taller than your block of ice. Vinyl-coated wire risers are recommended for their durability.
According to experts, it’s advisable to use two or three shelf risers placed across the bottom of the cooler. The key is to ensure that all the risers are of the same height, allowing the items above them to sit evenly. By following this simple tip, you can maintain the integrity of your cooler’s contents and prevent any mishaps during transportation.
Video How to Pack a Cooler
If you’re a visual learner, this video guide will provide some helpful tips and tricks for packing a cooler effectively. Watch and learn how to keep your food and drinks cold on your next outdoor adventure!
Final Thoughts
In conclusion, packing a cooler may seem like a simple task, but doing it effectively requires some strategic planning. From arranging your food in layers and filling the cooler to its maximum capacity, to positioning the cooler in the shadiest available spot and not discarding melted ice water, these tips can make a significant difference in the freshness of your food and the longevity of your ice.
Remember, it’s also essential to clean your cooler thoroughly after each trip and select the right cooler size for your needs. By following these tips, you’ll be well on your way to maintaining the integrity of your cooler’s contents and ensuring your food stays fresh and safe throughout your trip.