We are here to provide you with a helpful guide to accurately estimate the amount of dry ice you’ll need to ensure your cooler stays frosty for your entire event. Let’s dive into the chilly details!
How Much Dry Ice Do You Need for a Cooler Quick Guide
Don’t know How Much Dry Ice Do You Need for a Cooler? Find below helpful tips that will show you how to actually use dry ice in a cooler. For more details continue below.
- Size of the Cooler: The larger the cooler, the more dry ice you’ll need. As a general rule, for a standard 40-50 quart cooler, you’ll need approximately 10-15 pounds of dry ice every 24 hours.
- Length of Your Trip: The longer your trip, the more dry ice is required. If you’re planning a weekend trip, starting with 30-40 pounds of dry ice should keep your cooler cold.
- Efficiency of the Cooler: High-quality insulated coolers are more efficient at maintaining low temperatures. If your cooler isn’t well-insulated, you may need more dry ice.
- Packing Strategy: To maximize the efficiency of your dry ice, pack your most perishable items directly next to it and less perishable ones further away.
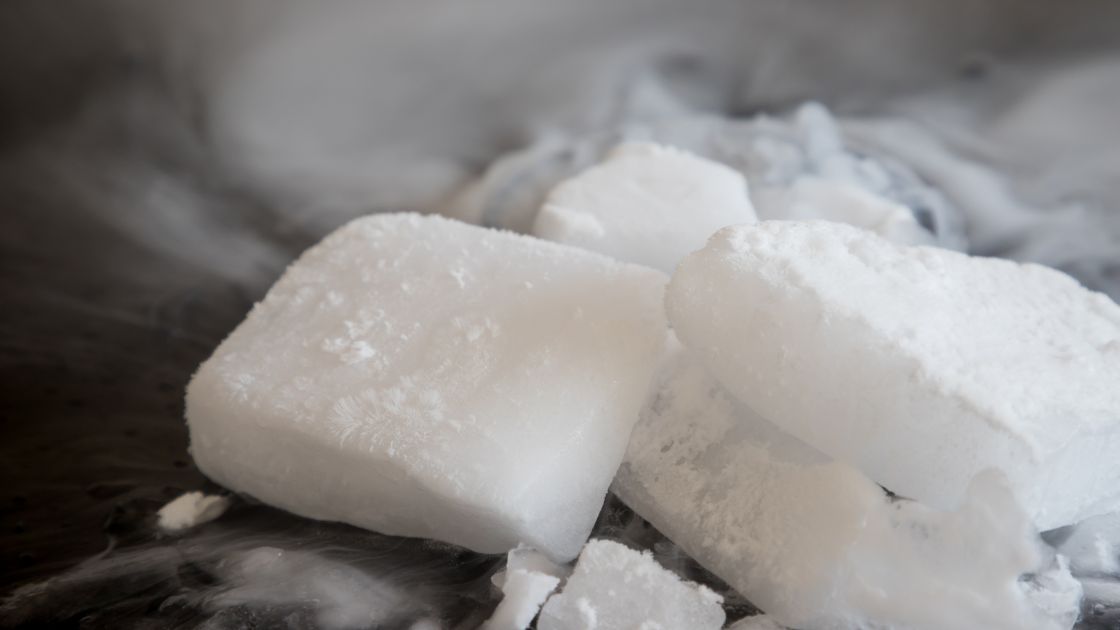
- Size of Dry Ice: Dry ice is sold in blocks or pellets. Pellets are easier to handle, but they sublimate (turn from a solid to gas) faster than blocks. If you have space, opt for blocks as they’ll last longer.
How Much Dry Ice Do You Need for a Cooler: Tips Explained
Remember, these tips are guidelines, and actual usage may vary depending on various factors. It’s always best to buy a little more dry ice than you think you’ll need to ensure your items stay cold. Here are some helpful explanations for the tips mentioned above:
Size of the Cooler

Select the appropriate cooler that suits your cooling needs and duration. Ensure that it features a partially sealed lid or a drain to allow ventilation and prevent gas buildup as the dry ice sublimates (going from solid to gas without melting). For short-term use, opt for Styrofoam coolers or urethane-insulated boxes, while larger and longer applications are best served by molded or plastic coolers.
Length of Your Trip
The duration of your trip significantly influences the amount of dry ice you’ll need. If you’re planning a day trip, 10-15 pounds of dry ice should suffice to keep your items cool. However, for a weekend excursion of 2-3 days, consider starting with about 30-40 pounds of dry ice. For weeklong trips, you may need up to 120 pounds of dry ice or more, depending on your cooler’s efficiency and the ambient temperature. Always remember, it’s better to have a little extra dry ice than not enough.
Typically, a standard 25-quart cooler can preserve 10 pounds of dry ice for approximately 24 hours. However, numerous variables come into play. It is important to take into account the nature of the food being stored (frozen or refrigerated), the size of the cooler, surrounding conditions, and the duration of storage. Considering these factors will help ensure optimal preservation.
Efficiency of the Cooler
The efficiency of your cooler is a crucial factor in determining how much dry ice you need. Insulated coolers are designed to maintain low temperatures effectively, thus requiring less dry ice. On the other hand, a cooler with poor insulation will not retain the cold as well, meaning more dry ice may be needed to keep the contents adequately chilled.
The best coolers for use with dry ice are those with high-quality insulation such as rotomolded coolers or those specifically designed for dry ice use. These coolers are more efficient at holding the extreme cold from the dry ice for a longer period. Always ensure that your cooler has a vent or a way for the gas to escape as the dry ice sublimates to prevent any potential pressure build-up.
Packing Strategy

Wondering how to pack a cooler for camping with dry ice? Here’s a step-by-step guide to ensure you do it right:
- Choose the right cooler: Opt for a durable, well-insulated cooler designed for long-term ice retention. Popular dry ice-approved brands include Yeti, ORCA, Engel, Pelican, and Grizzly.
- Pack your food: Prior to hitting the road, pack perishable food tightly and fill any gaps with crumpled newspaper. This maximizes efficiency and slows down the dry ice sublimation process.
- Make space for dry ice: Leave at least three to four inches of room at the top of the cooler for the dry ice. Placing the dry ice on top keeps the interior colder since cold air sinks. Remember to keep the dry ice wrapped in its original paper packaging. If camping at higher elevations, bring extra dry ice due to faster sublimation in lower air pressure.
- Load the dry ice: Always handle dry ice with gloves and follow proper safety precautions, even when it’s wrapped in paper. Standard coolers can typically accommodate two 10-inch dry ice blocks, lasting approximately 24 hours.
- Ventilate and insulate: Keep the cooler lid slightly ajar to prevent the buildup of sublimating gas in the airtight container. For optimal ventilation and insulation, consider wrapping the cooler in a sleeping bag or wool blanket.
Size of Dry Ice

When learning about how much dry ice do you need for a cooler, be aware that dry ice comes in different sizes.
- Dry Ice Blocks: These dry ice blocks are perfect for packing a cooler on long trips. The amount of dry ice required depends on the duration of the trip and whether you need it frozen or just cold.
- Dry Ice Pellets: These dry ice pellets are suitable for use in coolers and are ideal for packaging and shipping perishable products.
Common Questions About How Much Dry Ice Do You Need for a Cooler
Let’s address some frequently asked questions when it comes to how much dry ice do you need for a cooler.
What is Dry Ice?
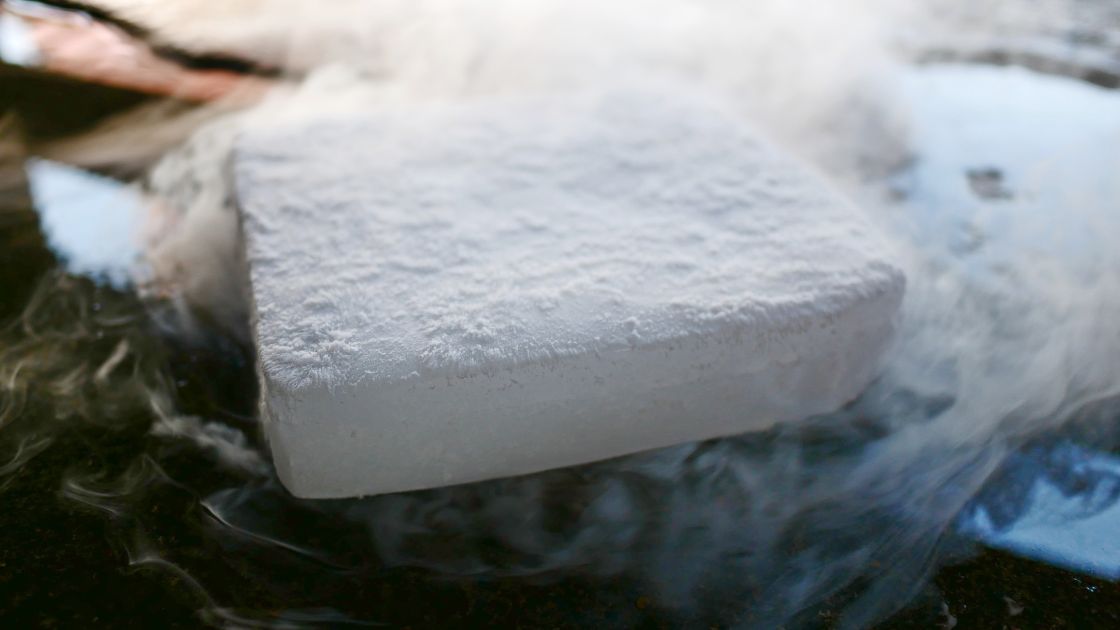
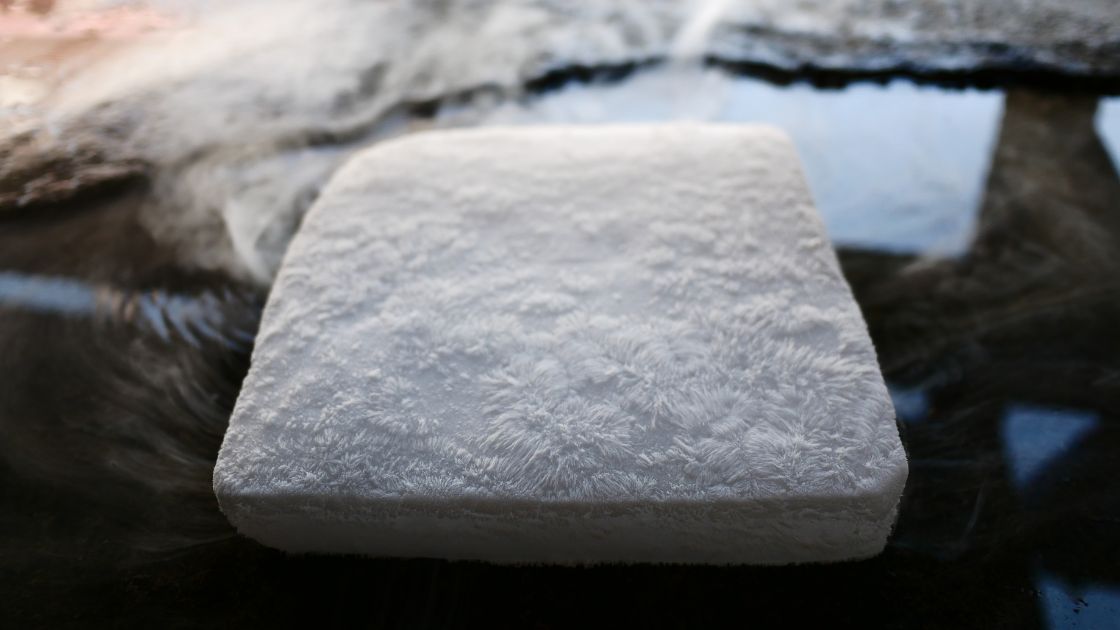
Dry ice is produced by converting liquid carbon dioxide (CO2) and maintaining an extremely low temperature of -109.3°F. Unlike regular ice, dry ice undergoes a process called sublimation, transitioning directly from a solid to a gaseous state without becoming liquid. This unique characteristic makes dry ice virtually mess-free, eliminating the need to deal with melting ice and resulting water puddles.
Additionally, dry ice offers twice the cooling power per pound compared to regular ice, allowing you to enjoy the benefits of a cooler without the added weight. Its exceptional properties make dry ice an excellent choice for shipping perishable items and keeping your cooler well-prepared for weekend getaways or extended trips.
What is the best approach to safely handle dry ice?
It’s quite straightforward—refrain from touching it with your bare hands. Dry ice can cause skin irritation, so it’s best to avoid direct contact. Instead, use gloves, tongs, or a towel when handling dry ice.
How to pack different items you want to chill in your cooler using dry ice?
The method of packing will vary depending on whether you’re storing drinks, fresh foods, frozen foods, or a combination of all three.
For drinks:
- Begin by placing wrapped dry ice at the bottom of the cooler. To prevent freezing and potential explosions, separate the drinks from the dry ice by:
- Cover the dry ice with multiple layers of newspaper or cardboard. This will create insulating air pockets against the extreme cold.
- Use any dry baskets that your cooler may have.
- Use a divider to keep the dry ice on one side and the drinks on the other.
Next, stack the drinks on top of the cardboard/paper barrier or to the side of the dry ice for easy access.
If you’re solely using the cooler for drinks, another option is to place regular ice on top of the dry ice. This will prevent direct contact between the drinks and the dry ice, while also prolonging the lifespan of the regular ice.
If you’re storing other items such as frozen meat or ice cream along with your drinks, position the frozen food in the cooler below the beverages. This will act as a protective layer for the dry ice while keeping your drinks chilled.
For fresh foods: When it comes to storing fresh foods, apply the same steps used for beverages to avoid freezing. For fresh produce, salads, or similar food items, it is crucial to use multiple layers of cardboard and/or paper to prevent freezing or wilting. This will help maintain the quality and freshness of your food.
For frozen foods: To use the cooler as a portable freezer for frozen foods, place the items you want to freeze or keep frozen at the bottom instead of the dry ice. For instance, you can store games from a hunting trip in storage bags, put them at the bottom of the cooler, and place the dry ice directly on top for quick freezing.
Video How To USE DRY ICE In COOLER – 6 Day BOAT Camping RESULTS
To further understand how much dry ice do you need for a cooler, check out this helpful video. In this video, you’ll see a demonstration of packing and using dry ice in a cooler for a six-day boat camping trip with impressive results.
Final Thoughts
In conclusion, the use of dry ice in coolers provides an effective and efficient method of keeping your perishable items fresh and your beverages chilled during your outdoor adventures or for shipping purposes. The ‘how much dry ice do you need for a cooler’, depends on variables such as the duration and nature of your trip, as well as the cooler’s size and quality. Remember to handle dry ice with care due to its extremely low temperature and always ensure proper ventilation in the cooler. With the right preparation and safety measures, dry ice can be a game-changer for your cooling needs.


